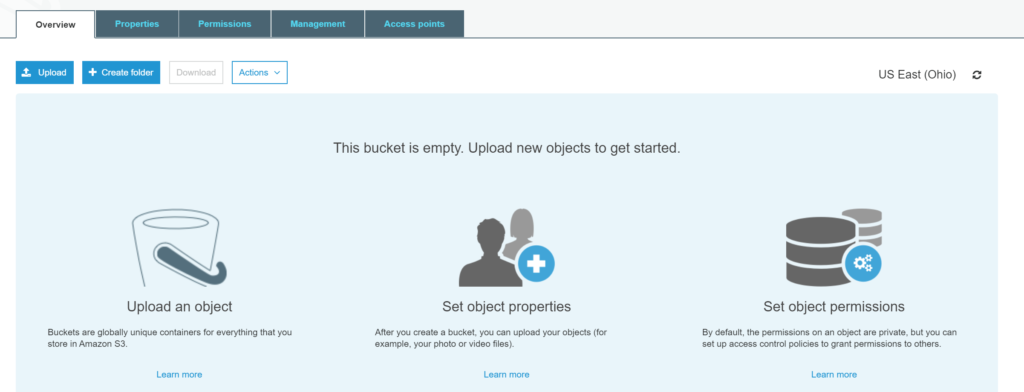
Creating a bucket in IAM:
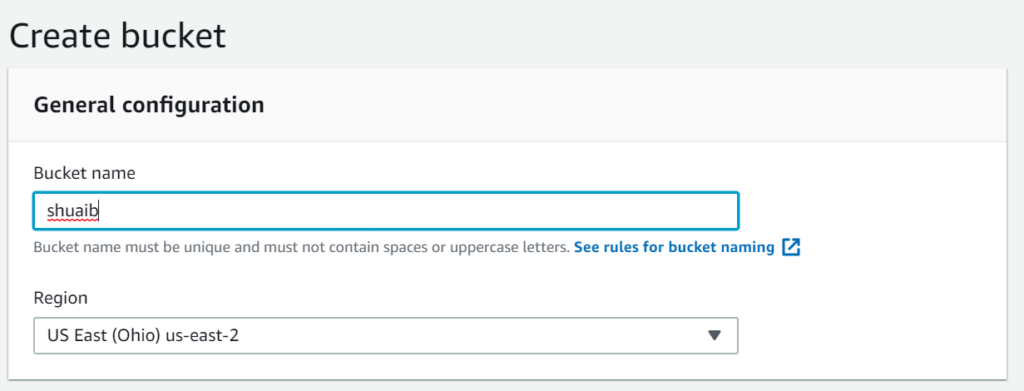
NOTE: IAM Screen for creating a new bucket has completely changed.
Old Screen:
Above options are not in new IAM interface.
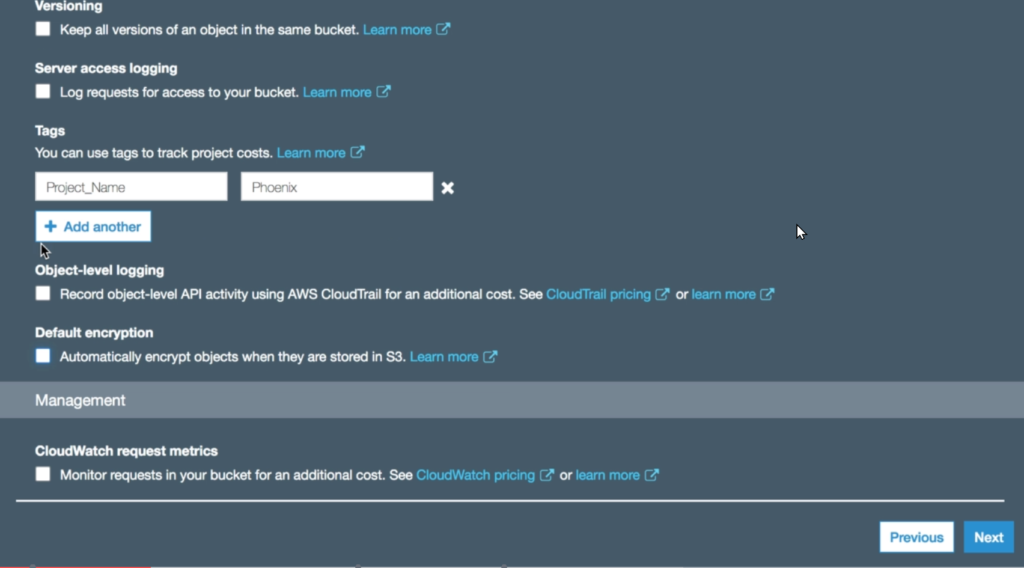
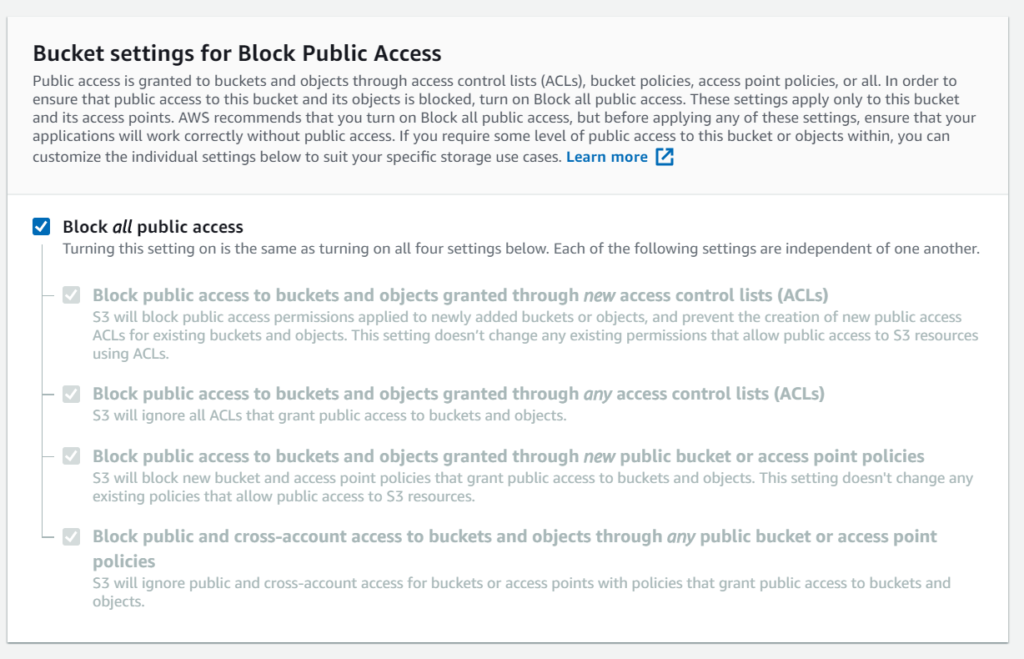
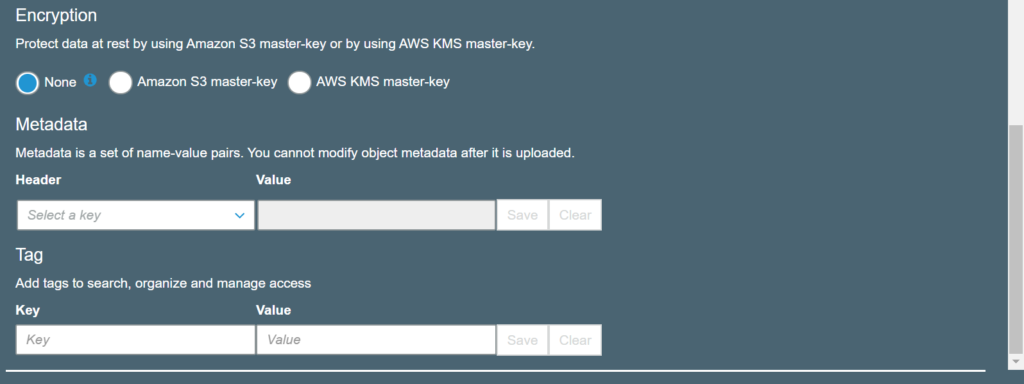
Configure Options:
Old:
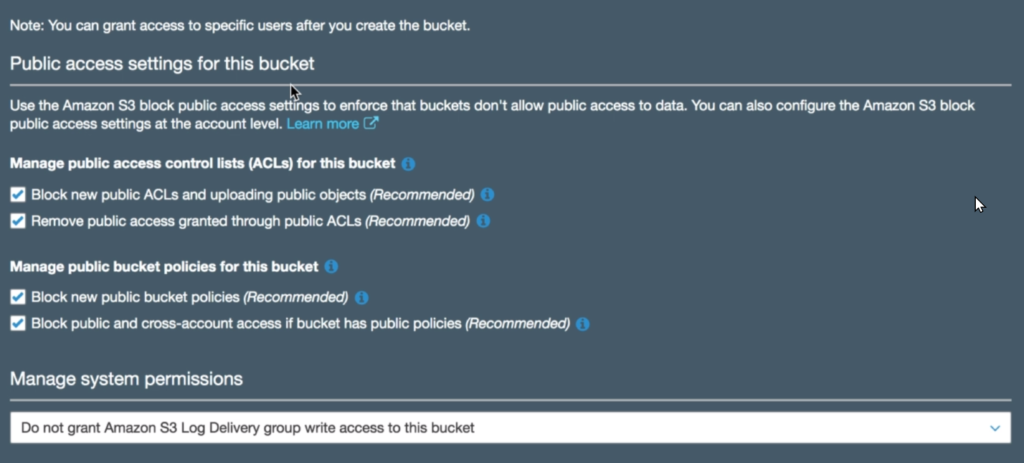
New:
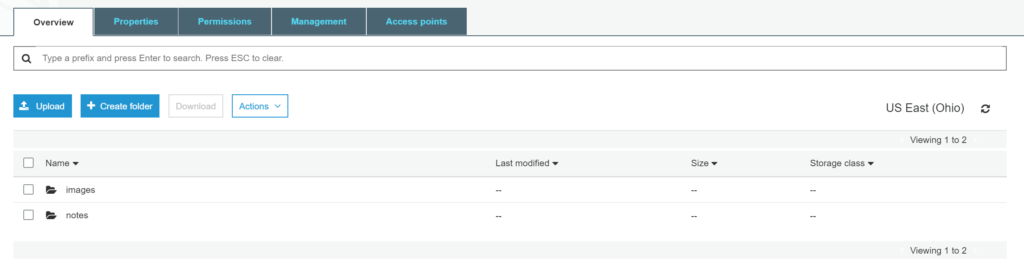
Navigate inside a bucket
Created 2 folders in the bucket
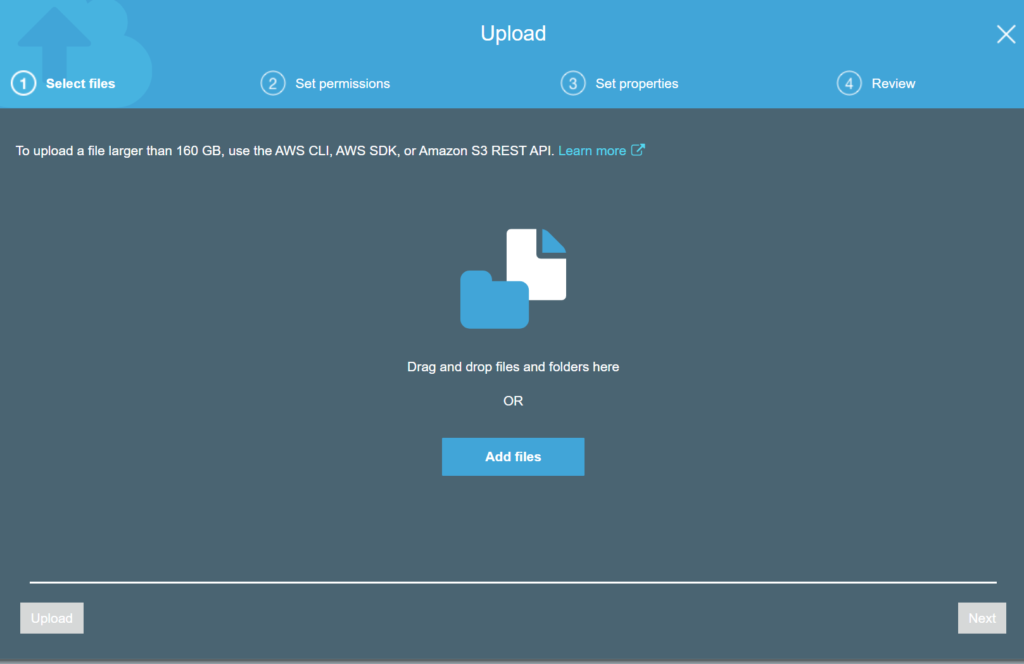
Upload a file inside images folder:
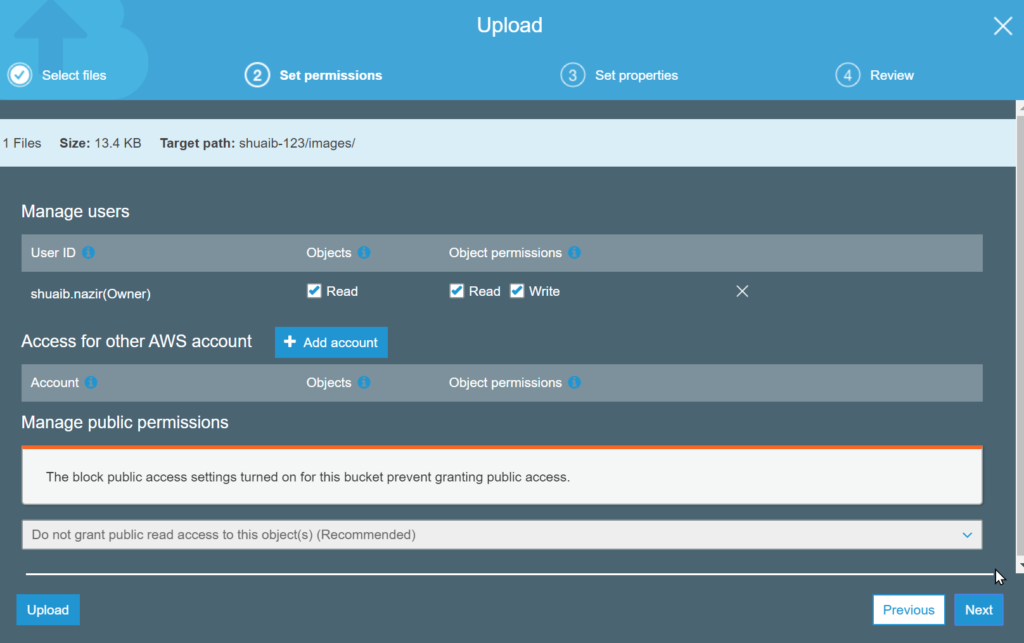
By default only owner has the permissions. More permissions can be granted.

Next, Set the properties.
Storage Class: Select Storage class: e.g. in how many availability zones, you want to keep data, what is min storage duration, min bill-able size. monitoring and automation fee, retrieval fee etc.
After upload, click on the file to see properties:
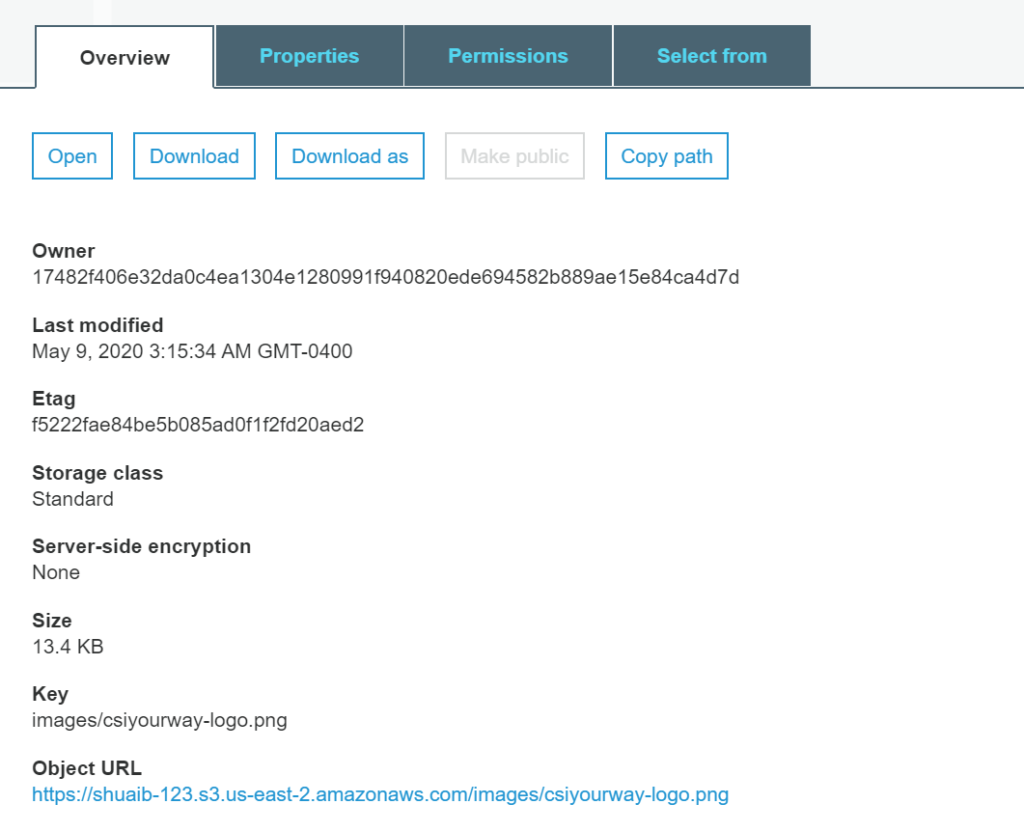
File can be accessed using Open, Download and Download as buttons.
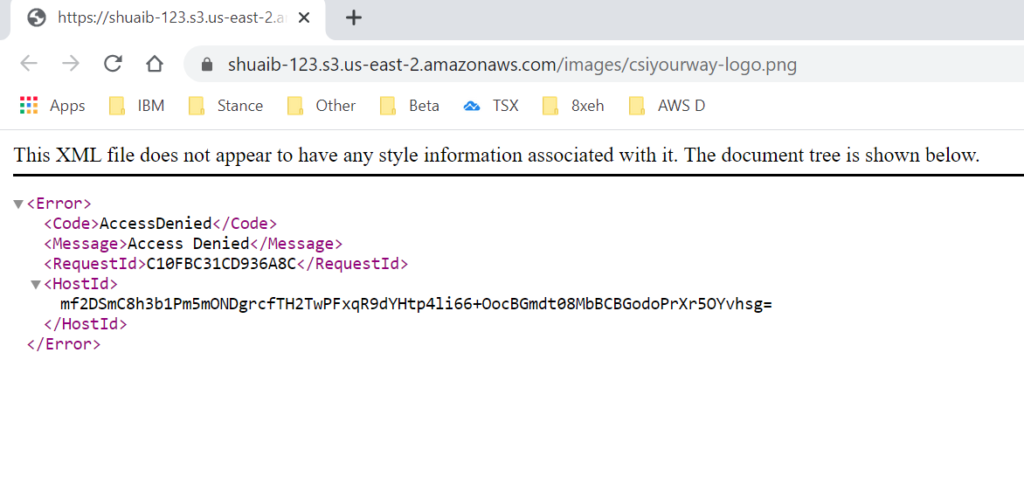
Using the URL gives error (as this file is private). Error looks like:
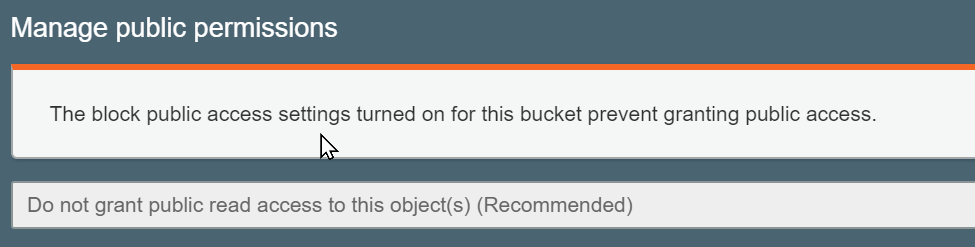
Now, upload another file and tired to give it public access. But Failed.
Go back and change the Bucket Access Policy

After that, this file can be accessed through a URL
The first file can still not be accessed publically, because it does not have public access at file level.
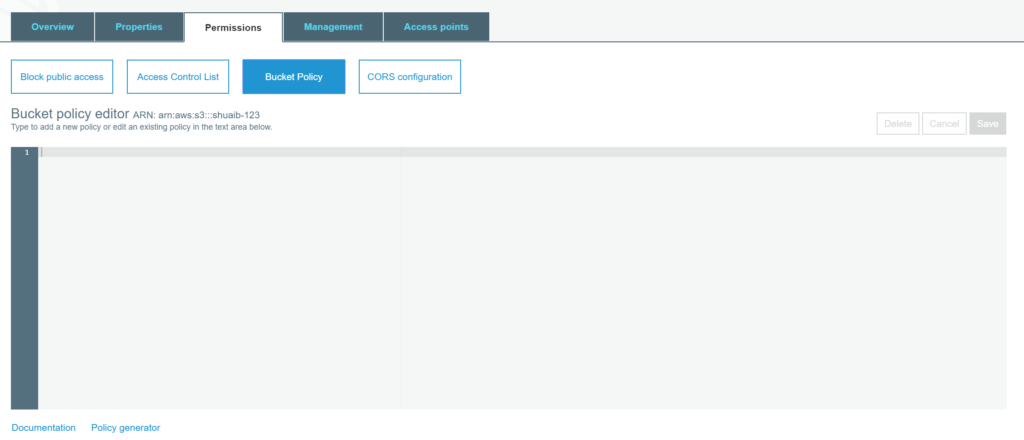
On Bucket Permissions screen, you can define JSON for bucket permissions. Or use Policy generator to generate the policy.
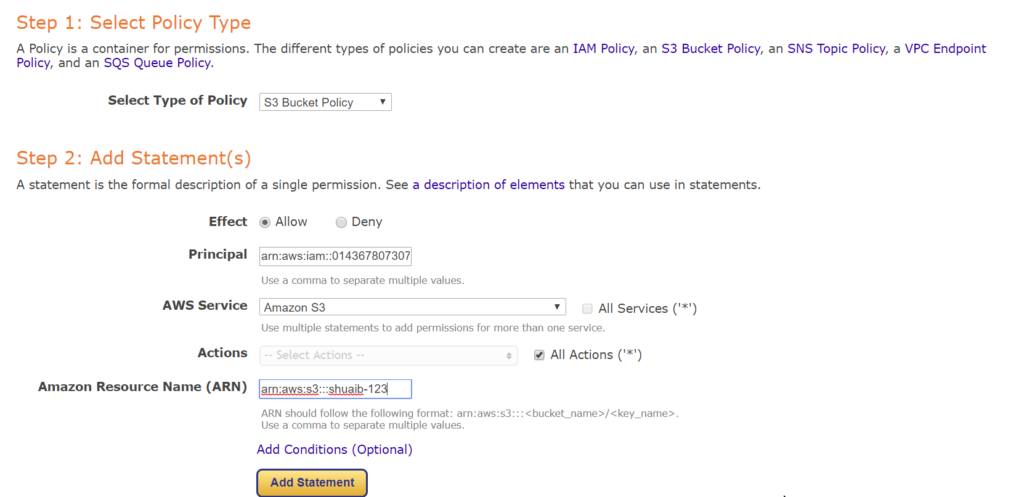
Principal: Go to IAM Users, and copy User ARN.
Amazon Resource Name: Go to Permissions page and copy ARN for the object for which we are creating policy.
Add Statement will add the permissions in the table. Repeat for all permissions.
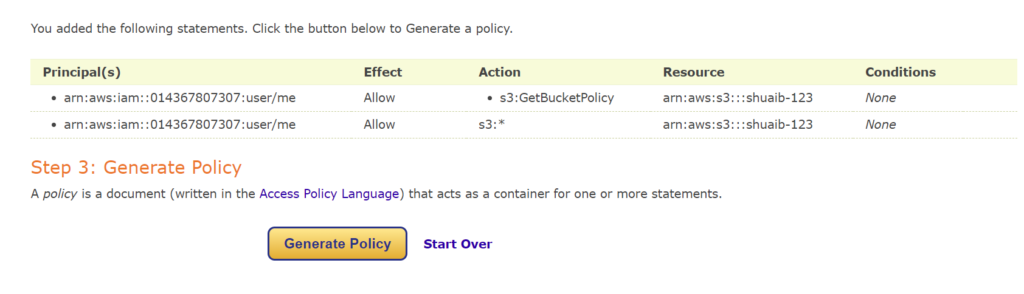
Clicking Generate Policy will generate Policy document:
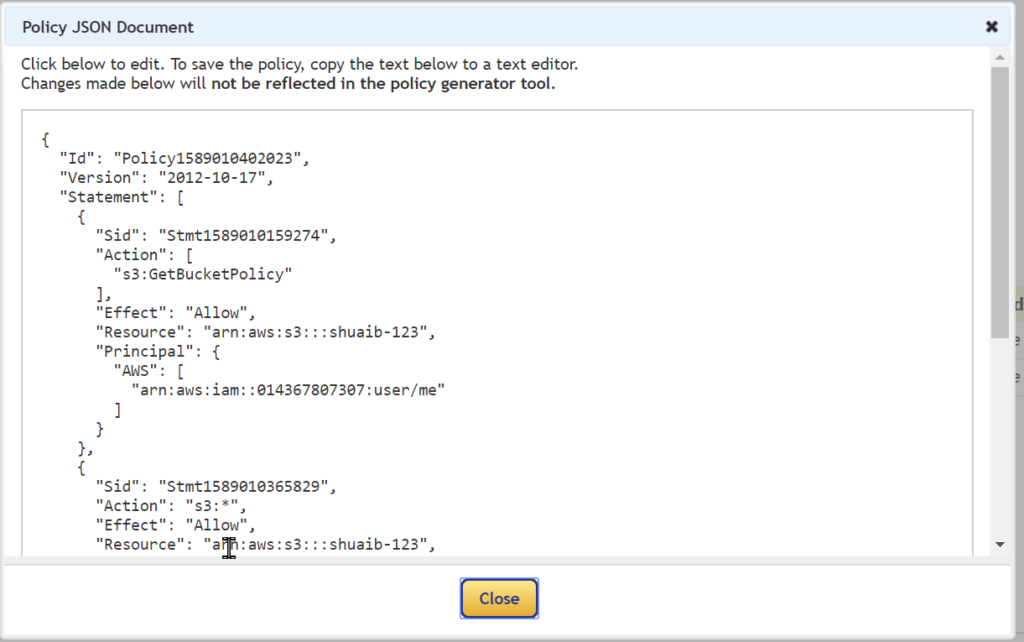
Copy it and paste in Bucket Policy editor.